
- an update is in progress.
- this content will soon be moved on the GIMX wiki.
Summary
Introduction
Requirements
Notes
1 Installation
1.1 Ubuntu 11.10
1.2 Windows
2 Quick start
2.1 Start GIMX
2.2 Config file download
2.3 Mouse sensitivity conversion
2.4 Play
3 Config editors
3.1 gimx-fpsconfig
3.2 gimx-config
4 Mouse calibration
5 Keyboard macros
6 Troubleshooting
7 Contribute
Introduction
This tutorial explains how to control a PS3 with PC peripherals (keyboards, mice, joysticks) plugged on a PC
- running Linux and using a bluetooth dongle
- running Linux or Windows and using a DIY USB adapter.
Special thanks to Jim Paris for his early work on the Linux bluetooth sixaxis emulator.
Requirements
- Linux + bluetooth [list]
- Ubuntu 11.10 (there are latency issues with Ubuntu 12.04).
- a sixaxis already used with the target PS3
- a compatible bluetooth dongle (just perform the tutorial to discover if your dongle works)
- a mouse that can track at least 2000DPI @250Hz (lower values will lack precision).
Notes
Do it at your own risk. I'm not responsible for any damage you can cause to your PS3 or PC.
Running the emulator in a virtual machine (vmware, virtualbox...) is NOT supported (no help will be given for that).
Don't try to use the sixaxis emulator and the sixaxis at the same time, and restore the bdaddr of the dongle if you don't use it with the sixaxis emulator anymore.
It's possible to run Ubuntu from a live usb disk (nothing is saved on the hard drive).
Feel free to install Ubuntu on your PC! If you have a Windows OS installed, you can read this tutorial if you want to install Ubuntu on your hard drive without erasing the Windows OS.
Another way to use the sixaxis emulator is to run it from a Ubuntu Live USB Persistent Flash Drive (read this post).
1 Installation
1.1 Ubuntu 11.10
Add "universe" to your software sources:
- Start Ubuntu Software Center.

- Click Edit>Software Sources.
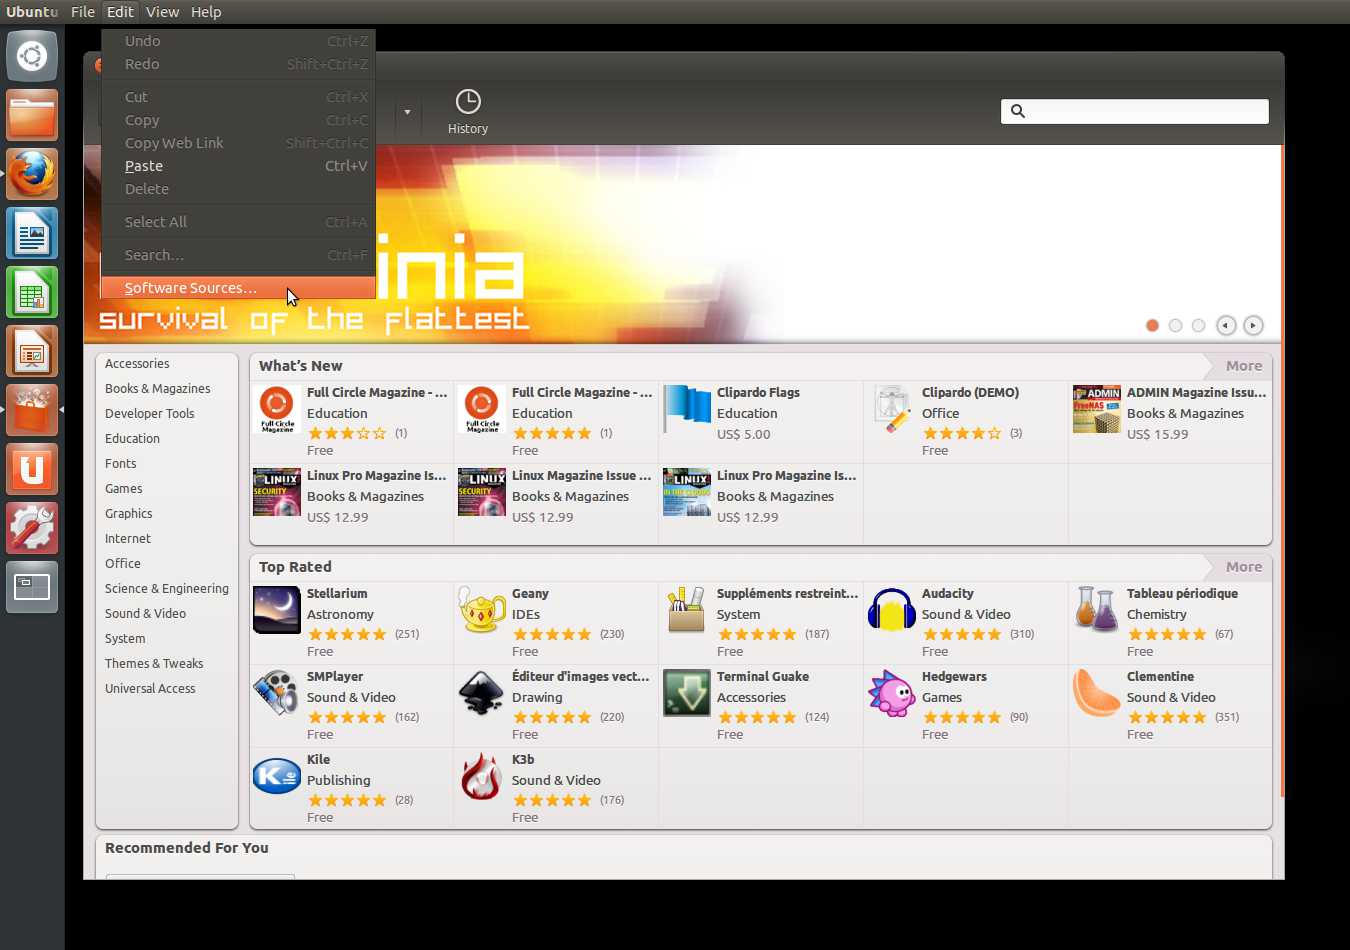
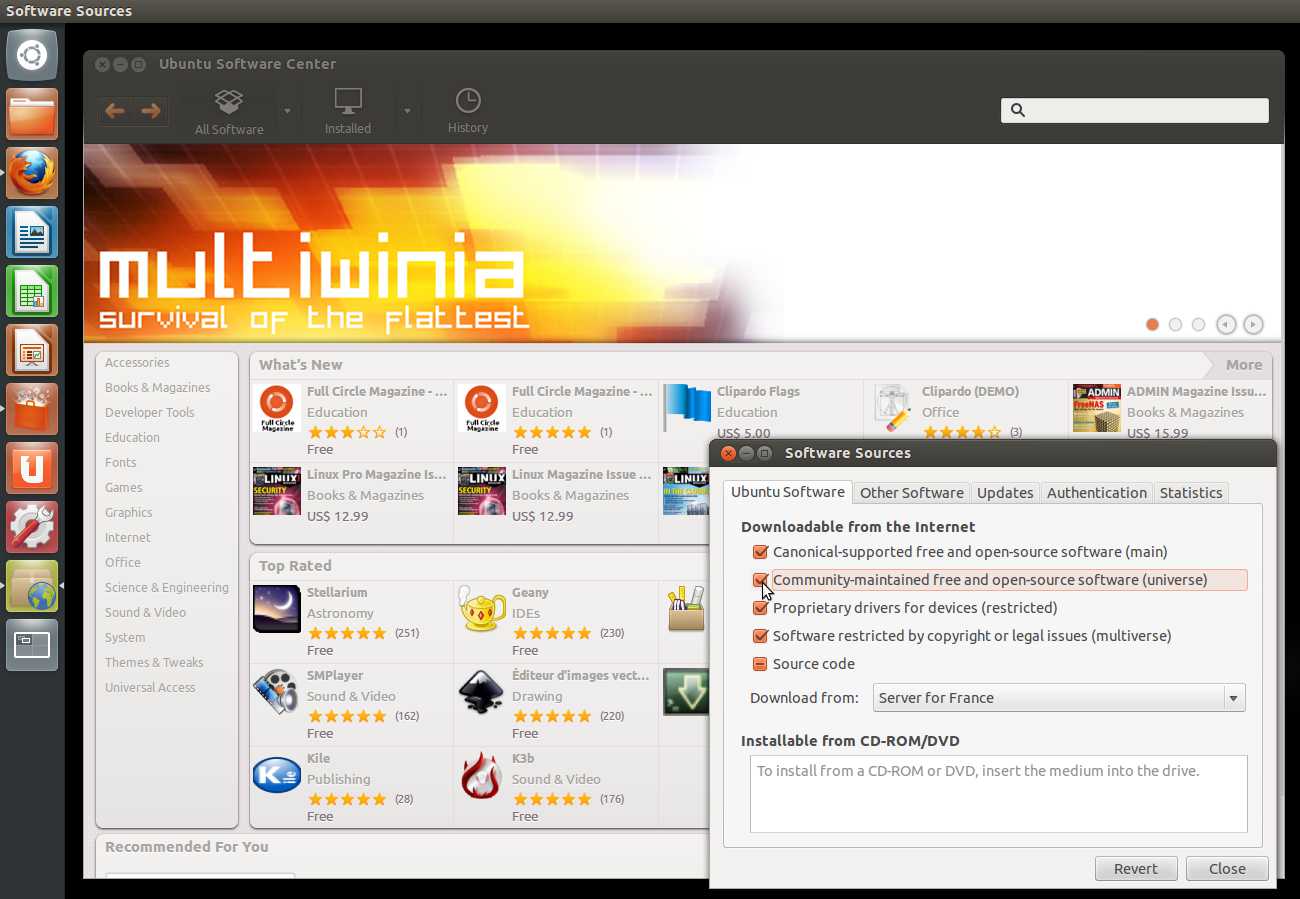
- Select "Community-maintained Open Source software (universe)", and close.
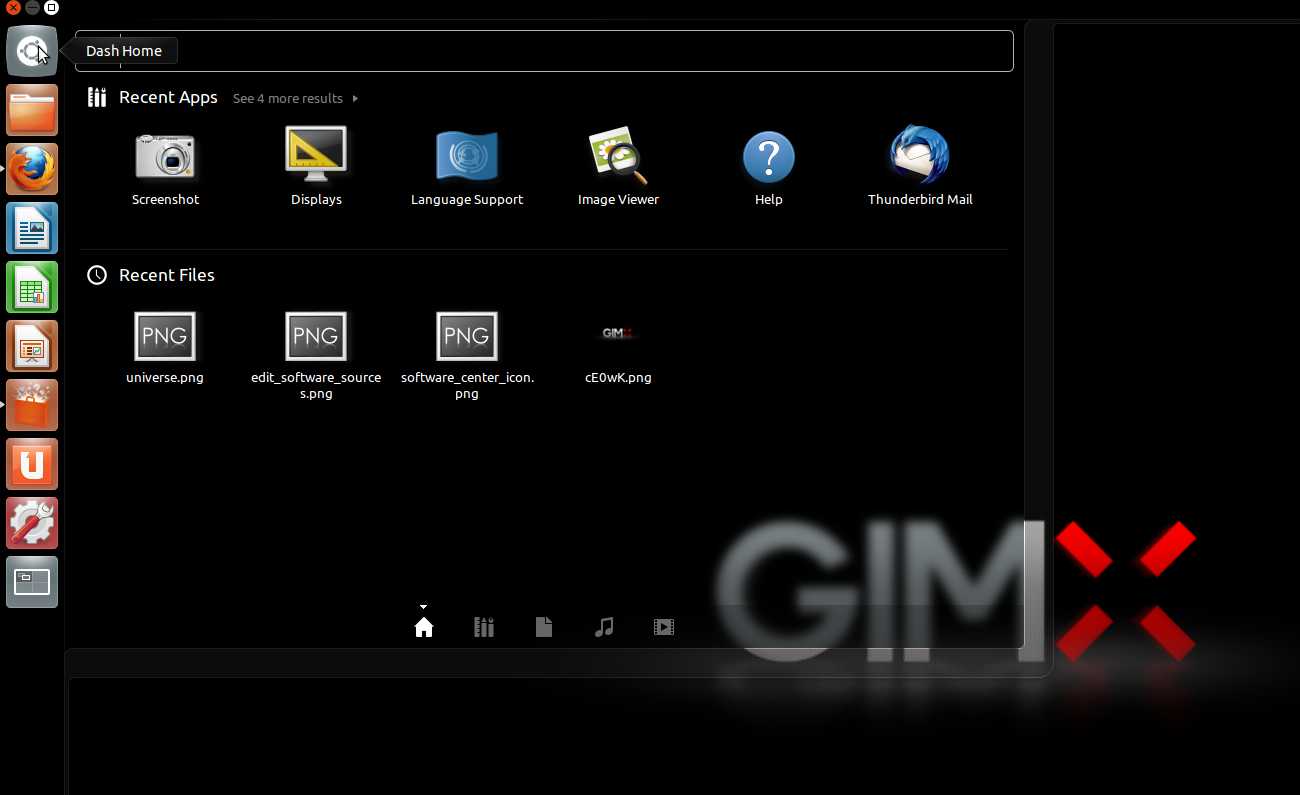
- Click on the Ubuntu desk.
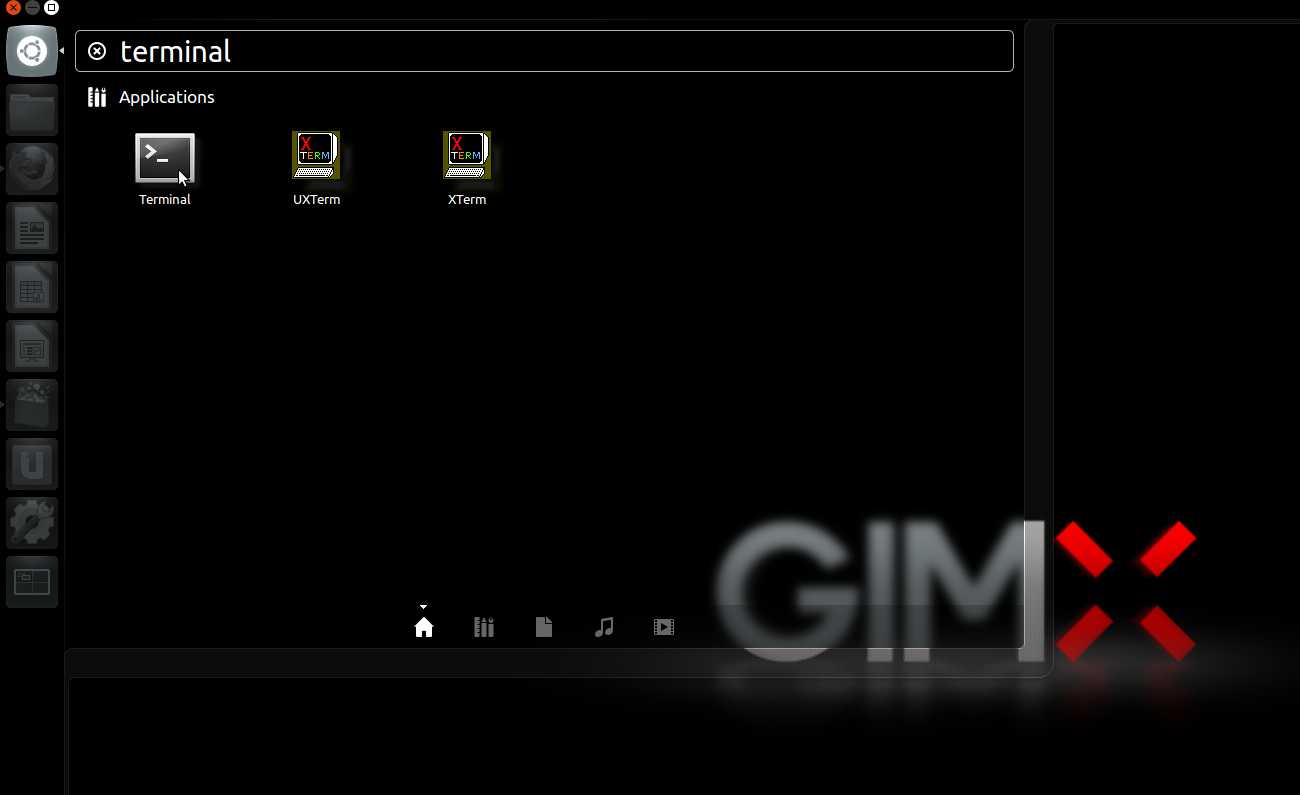
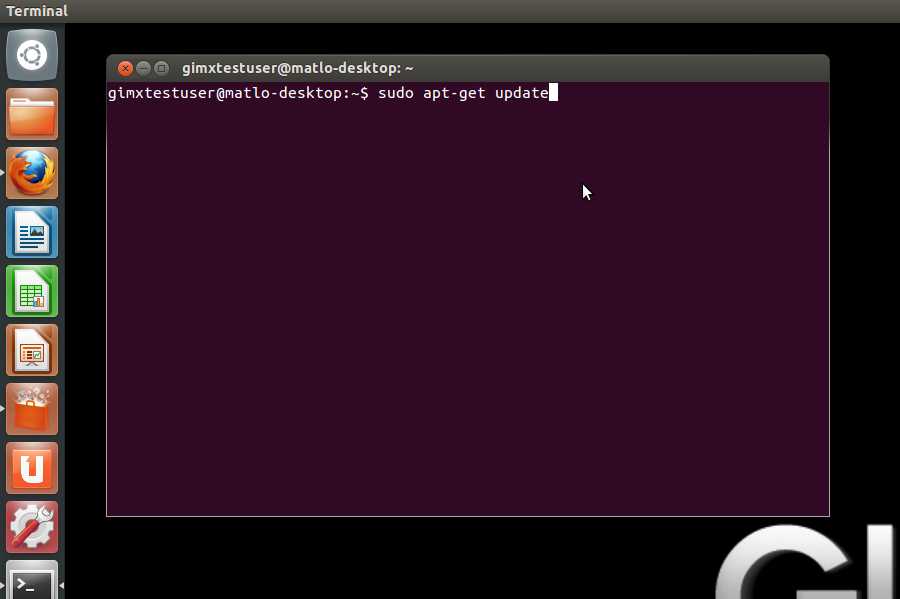
- In the search area, type "terminal" with no quotes, and hit enter.
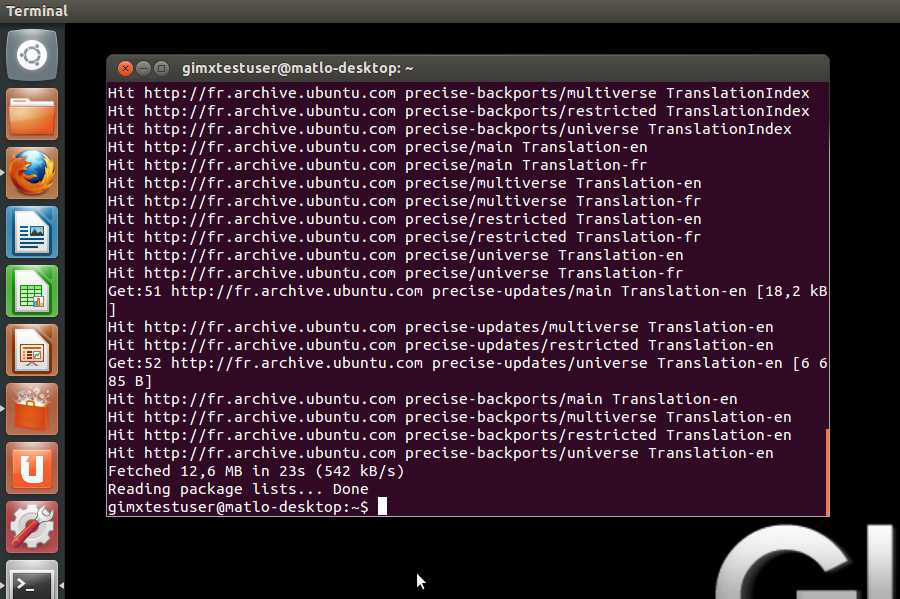
- In the terminal, type "sudo apt-get update" with no quotes, and hit enter.
1.2 Windows
- Download the CP2102 drivers and install (mandatory).
- Download the GIMX setup file and install.
2.1 Start GIMX
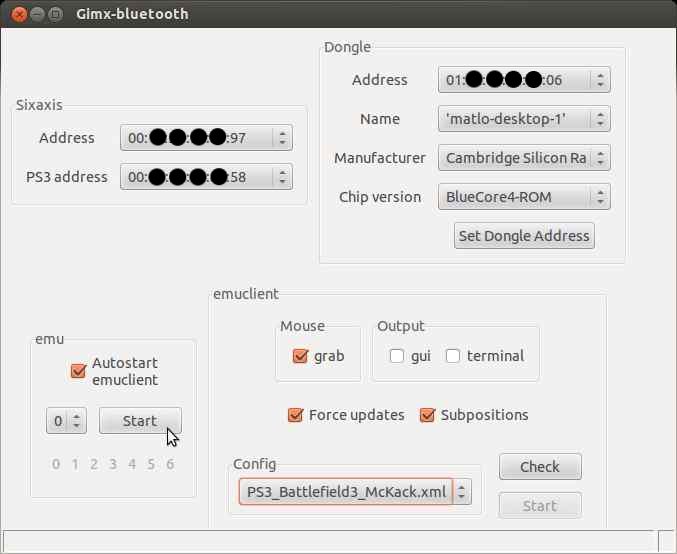
- Linux + bluetooth
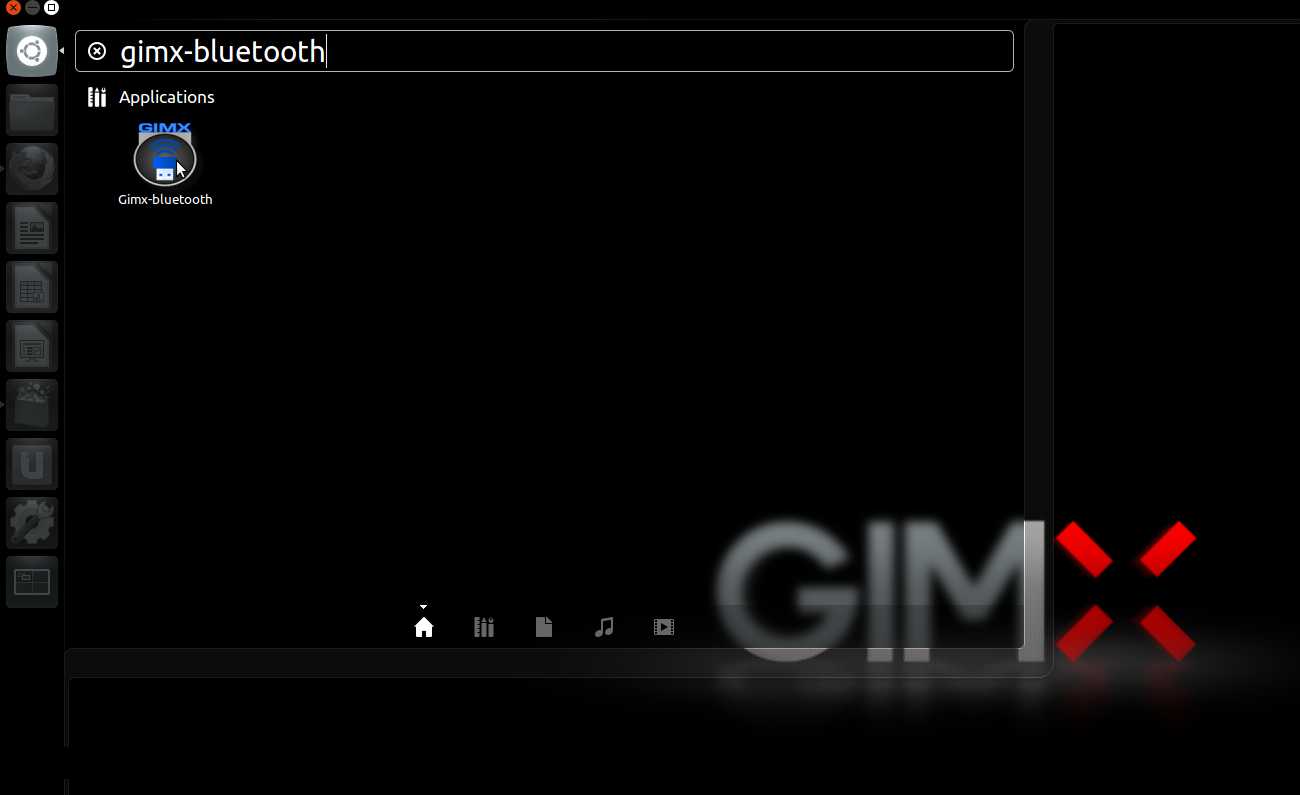
Plug your sixaxis (and the bt dongle, if external) to your PC.
Launch gimx-bluetooth.
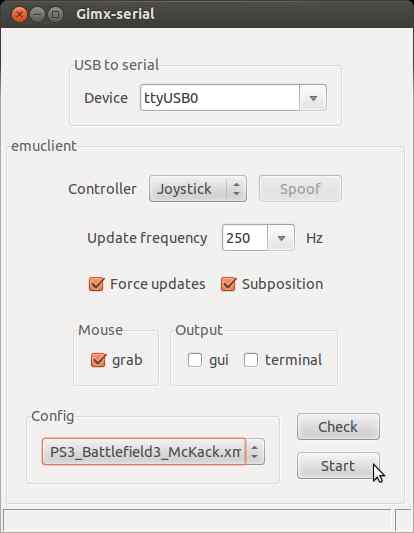
- Linux or Windows + DIY USB adapter
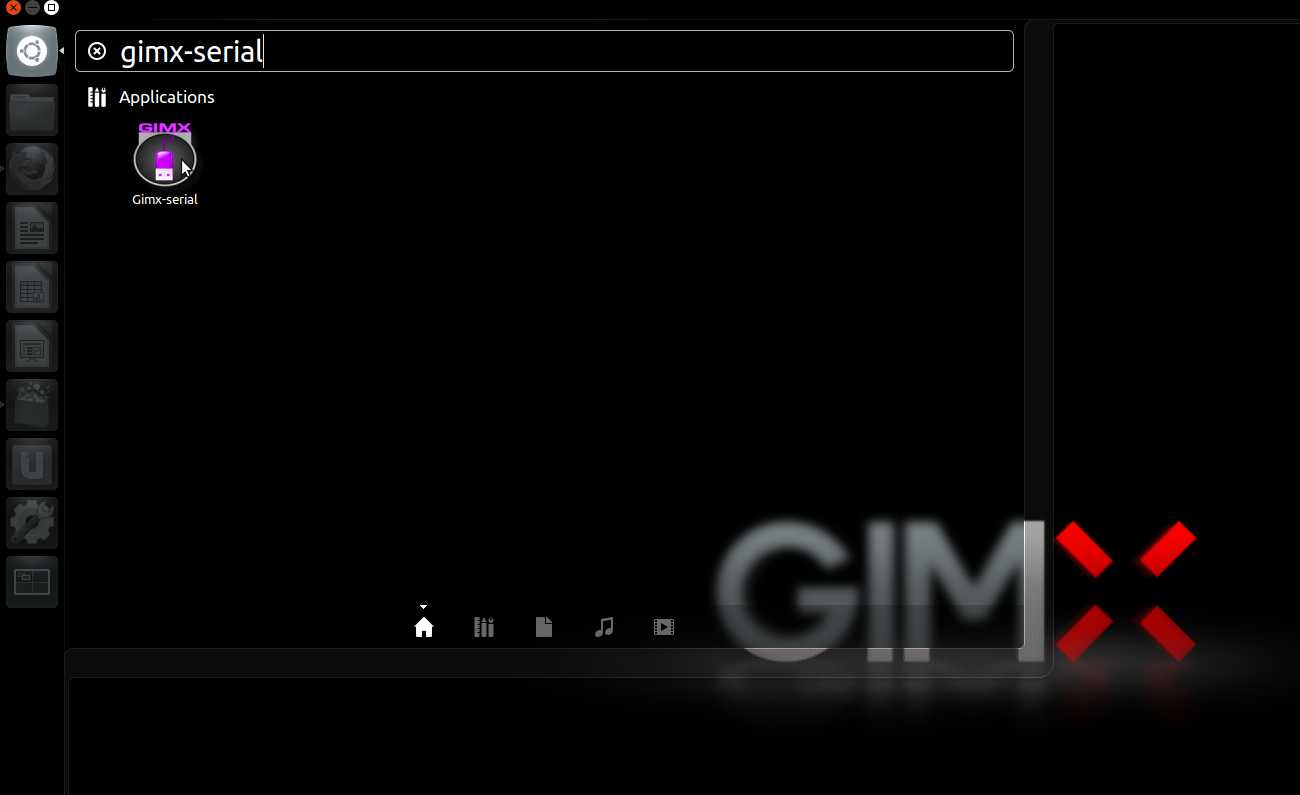
Plug the USB to serial TTL adapter to the PC.
Launch gimx-serial.
A few config files are shared by users of the GIMX community, and can be downloaded from gimx-bluetooth or gimx-serial.
Please contribute by sharing your own configs in the Configuration and Requests section.
GIMX > 0.30:
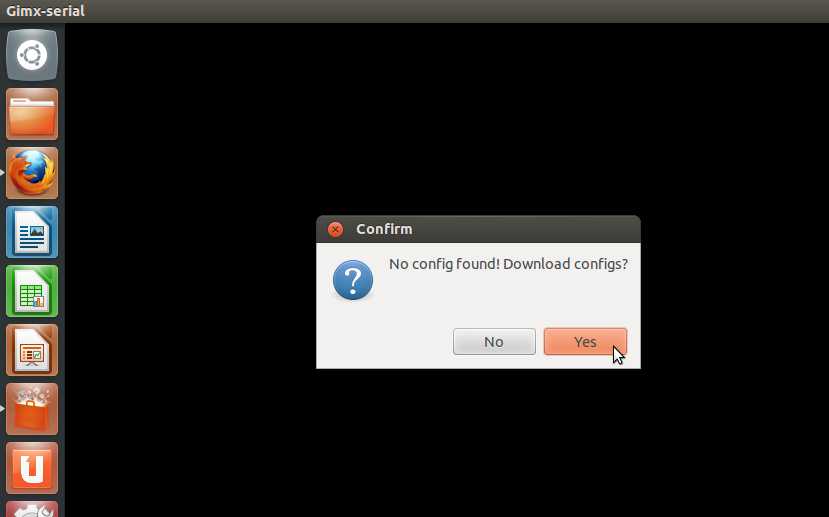
The first time gimx-bluetooth (Linux + BT dongle) or gimx-serial (Linux or Windows + DIY USB adapter) are started, if there is no config file present on the PC, a message box will ask you if config files should be downloaded.
The config file downloader is also available through the "Help>Get configs" menu entry.

The config file downloader displays all config files available to download:
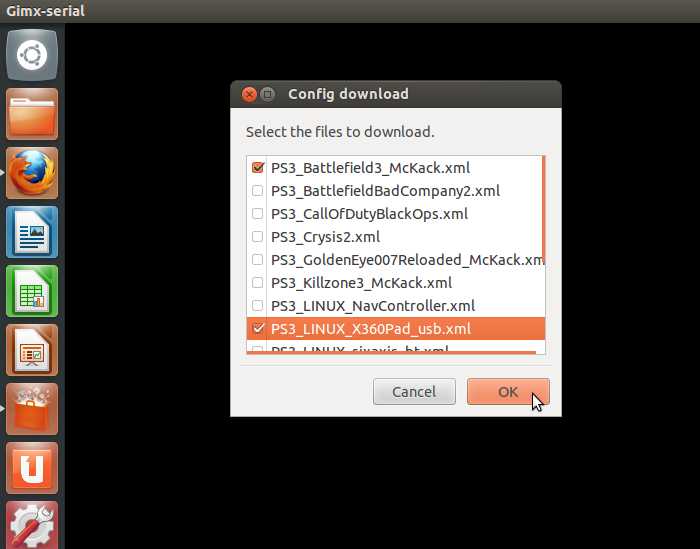
The config name syntax is: <CONSOLE>_<GAME>_<AUTHOR>.xml or <CONSOLE>_<OS>_<DEVICE>_<AUTHOR>.xml.
Examples:
- PS3_Battlefield3_McKack.xml: config file built by McKack for the PS3 version of Battlefiled 3.
- PS3_LINUX_X360Pad.xml: config file to use in Linux with a 360 pad and a PS3.
2.3 Mouse sensitivity conversion
This part is for the FPS gamers.
Before using a someone else's config file, you have to convert the sensitivity so that it matches your own mouse DPI.
Make sure to set the in-game sensitivity to the highest, and make sure to have your mouse tracking at its highest DPI setting (examples: Logitech G5 @2000DPI, Logitech G500 @5700DPI).
GIMX provides means to convert the sensitivity, knowing both the DPI of the source mouse (which can be embedded in the config file) and the DPI of the destination mouse.
If the source DPI and the destination DPI are the same, there is no need to convert anything.
It's possible to to this with gimx-config or gimx-fpsconfig. These tools are further detailed in part 3. Config editors.
- Gimx-config
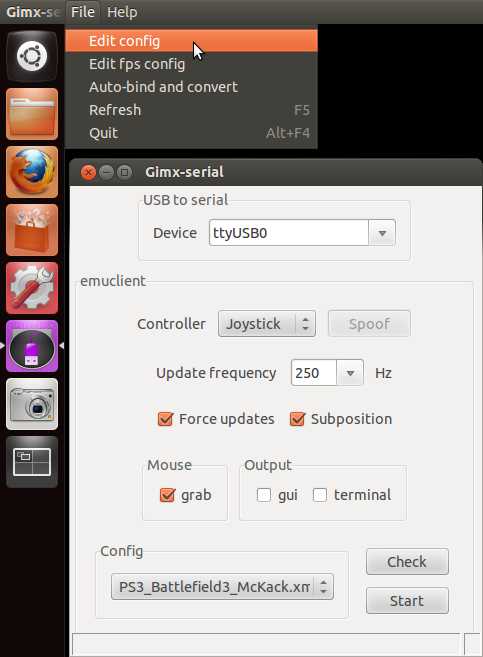
In gimx-serial or gimx-bluetooth, select the config file, and click on the "File>Edit config" menu item.
--todo: update screenshot
This opens the config file with the gimx-config editor.
0.30: Click on the "Edit>Replace Mouse DPI".
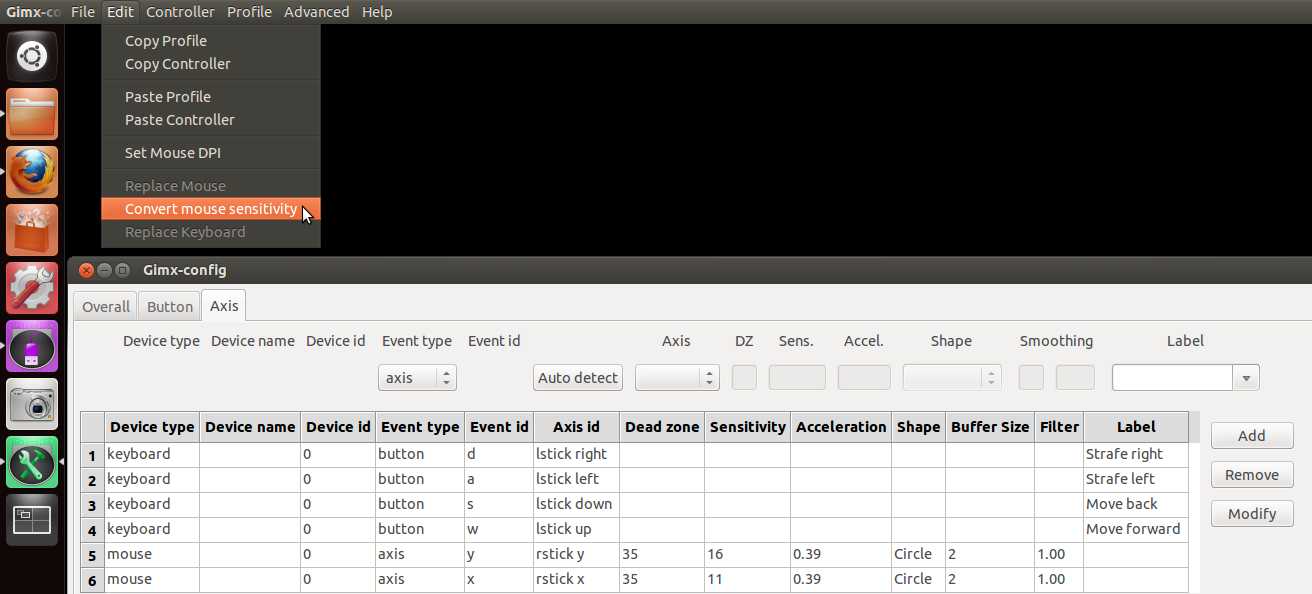
0.40: Click on the "Edit>Convert mouse sensitivity".
A dialog box is displayed. Enter the source DPI and validate.
0.40: no box displayed if the config contains a DPI value.
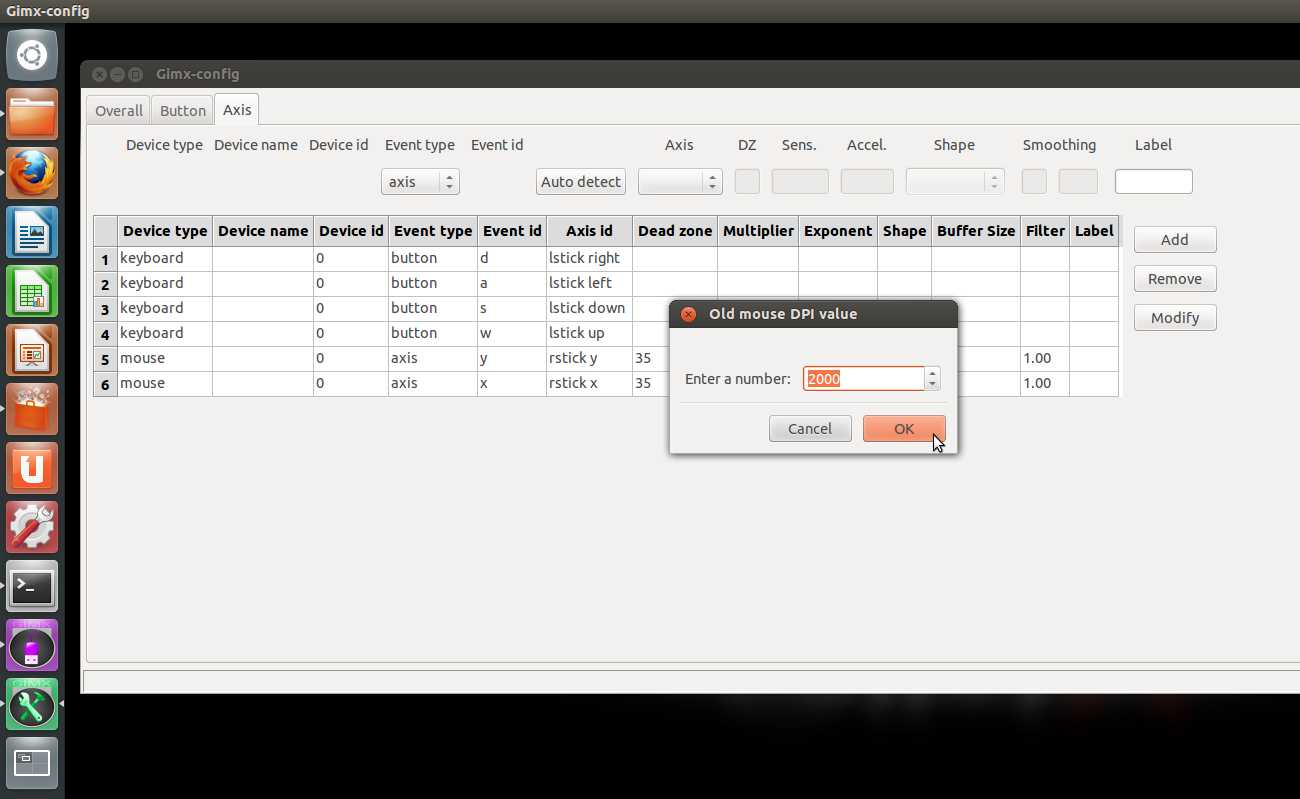
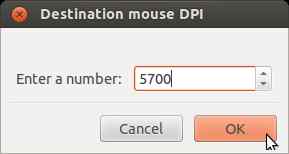
A dialog box is displayed. Enter the destination DPI and validate.
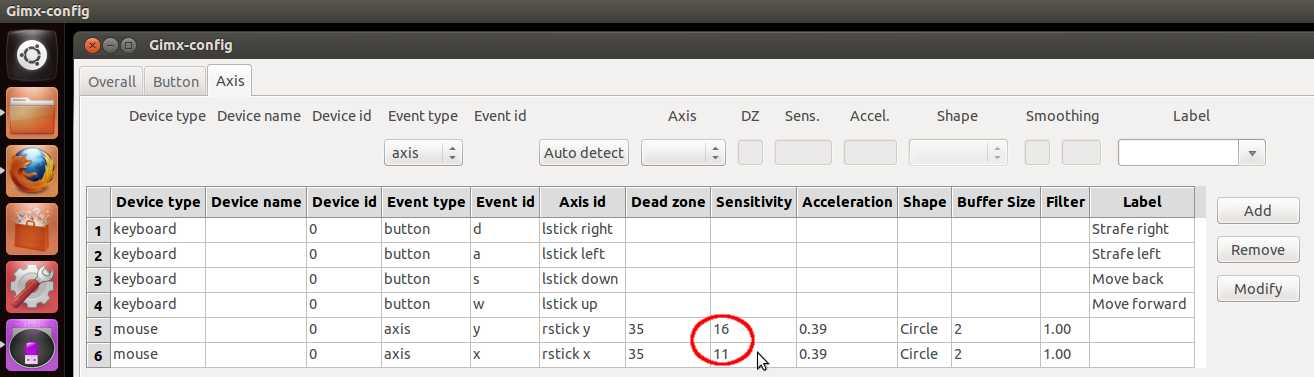
The sensitivity is converted in all profiles (hip fire = profile 1, ADS = profile 2).
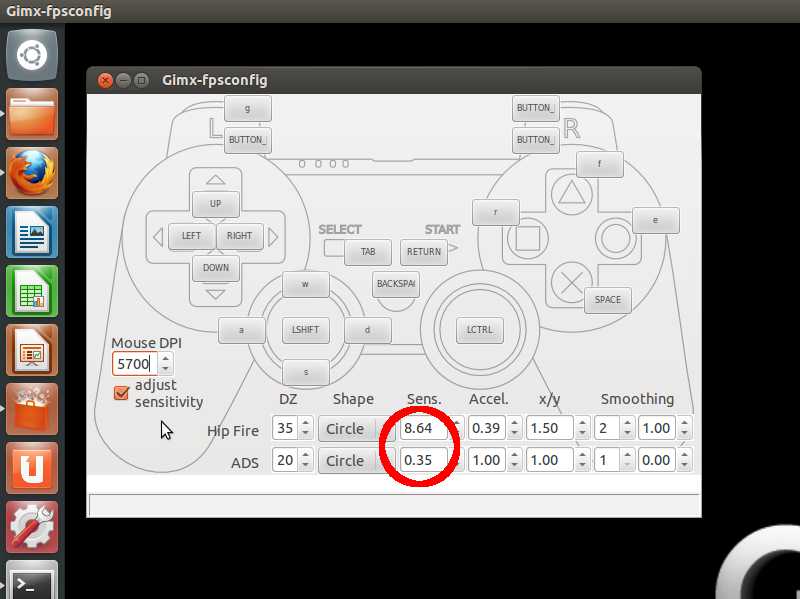
Click on the "File>Save". - Gimx-fpsconfig
In gimx-serial or gimx-bluetooth, select the config file, and click on the "File>Edit FPS config" menu item.

--todo: update screenshot
This opens the config file with the gimx-fpsconfig editor.
If the source DPI was saved into the config file, the mouse DPI should be different from 0.
0.30: Check the "adjust sensitivity" checkbox. Enter the destination DPI and validate.
0.40: Click on the "Convert sensitivity" button. A dialog box is displayed. Enter the destination DPI and validate.
--todo: add screenshot
The sensitivity is converted for both hip fire and ADS.
--todo: update screenshot
Click on the "File>Save".
- Linux + bluetooth
--todo: update screenshot
- 1.Select the sixaxis
2.Select the bt dongle
3.Set the dongle address (don't forget to write the old one down)
--todo: add screenshots OK/KO
4.Unplug your sixaxis and if it doesn't power off by itself, press the PS3 button until it powers off
5.Select the configuration file to use
6.Start emu (emuclient starts automatically if the connection is established)
7.Play (press Left Shift + Escape to quit emuclient)
8.Stop emu
- 1.Select the sixaxis
- Linux or Windows + DIY USB adapter
--todo: update screenshot
- 1.Select the USB to serial board
2.Select the update frequency (recommended value: half your mouse frequency)
3.Select the configuration file to use
4.Start emuclient
5.Play (press Left Shift + Escape to quit emuclient)
- 1.Select the USB to serial board
GIMX provides 2 different config editors:
- gimx-config: the general purpose config editor, and the most complete of the 2 editors
- gimx-fpsconfig: the config editor for FPS games, easier to use, but far less complete.
Configuration files have to be saved into:
- Ubuntu: the ~/.emuclient/config directory.
~ is the home directory.
.emuclient folder is hidden (in the file manager, press ctrl+h to display hidden folders). - Windows 32bits: the C:\Program Files\GIMX\config directory.
- Windows 64bits: the C:\Program Files (x86)\GIMX\config directory.
Launch gimx-fpsconfig
--todo: add screenshot
3.2 gimx-config
Launch gimx-config.
--todo: add screenshot
--todo: add screenshot (button tab)
--todo: add screenshot (axis tab)
--todo: add screenshot (trigger tab)
It's possible to define a profile for aiming: copy-paste the profile #1 to profile #2, define the right mouse click as profile #2 trigger with switch back, and adjust the mouse sensitivity (multipliers) & acceleration (exponents).

--todo: update screenshot
Items of the "Edit" menu that allow to convert a configuration:

--todo: update screenshot
The "Replace Mouse" item allows to change the mouse name and id.
The "Replace Keyboard" item allows to change the keyboard name and id.
The "Replace Mouse DPI" item allows to adjust the mouse sensitivity (multipliers) according to source/destination DPI values.
Stick intensity control for button to stick mappings:
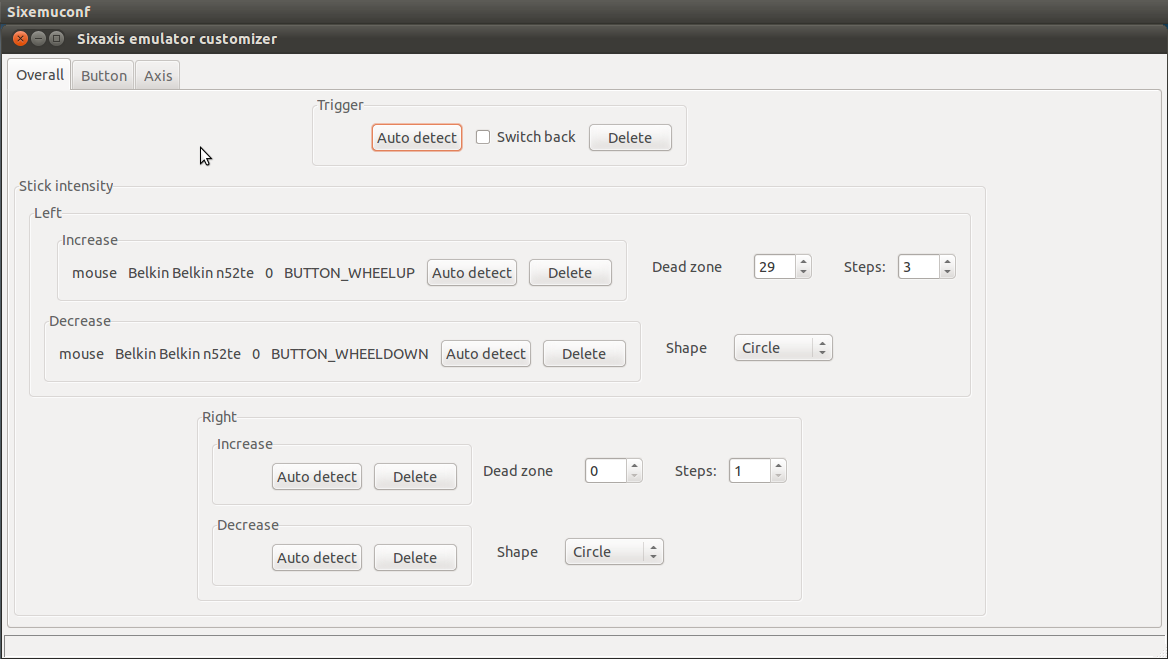
--todo: update screenshot
4 Mouse calibration
Before calibrating the mouse, be sure to set the in-game sensitivity to the highest, and be sure to set the mouse dpi to the highest value.
Select Mouse>GUI in gimx-bluetooth or gimx-serial. Then start emuclient.
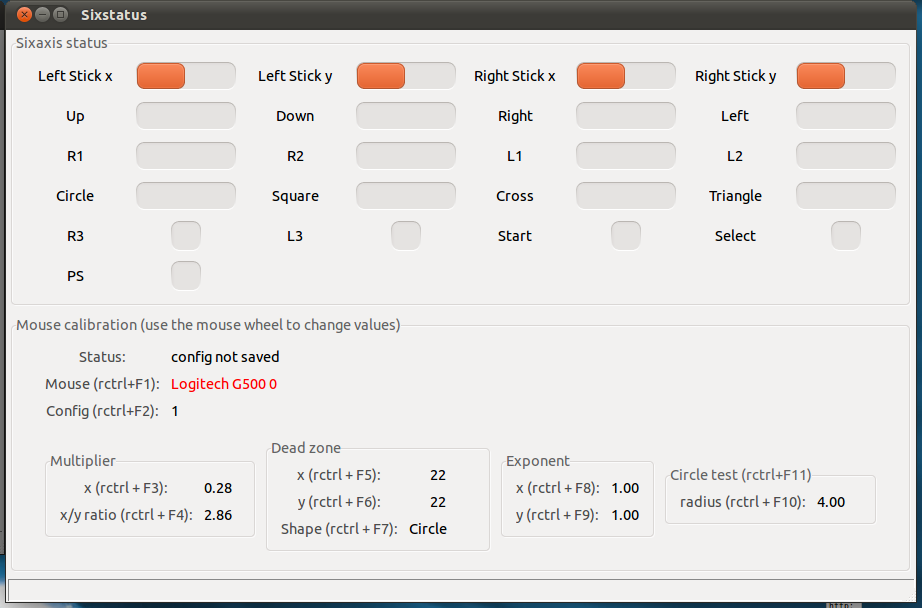
--todo: update screenshot
Current mouse calibration values appear in the "Mouse calibration" part of the gui.
This calibration mode lets you calibrate each mouse independently. It reads values from the loaded configuration.
General instructions:
Press ctrl+F1 to enable the calibration.
Press F1 ... F12 to select the parameter, and use the mouse wheel to change the value.
Press ctrl+F1 to leave the calibration and save the parameters. /!\ Broken in GIMX 0.30 /!\
Detailed instructions:
1. Press ctrl+F1, and select the mouse with the mouse wheel.
2. Press F2 and select the profile with the mouse wheel (generally, profile 1 is for hip fire, and profile 2 is for aiming down the sight).
3. Press F5. If the sight moves, decrease the x dead zone value with the mouse wheel until the sight does not move. Once the sight does not move, increase the x dead zone until the first moving position.
4. Press F6. Set the same value as the x dead zone value.
5. Press F7. Set the dead zone shape value to "rectangle". If the sight moves, set the dead zone shape to "circle", and let it set to "rectangle" otherwise.
6. Press F12 to start a translation test. the sight will move horizontally at different speeds in both left and right directions.
A 1:1 translation means the sight should come back near the start point. If it doesn't, use F8 and the mouse wheel to change the x exponent value.
7. Press F9. Set the same value as the x exponent value.
8. Press F3. Adjust the x sensitivity to your liking.
9. Press F10 to start a circle test. Adjust the circle radius and speed (F10/F11 + mouse wheel) if necessary.
The x/y ratio is properly set if the sight moves in a perfect circle. If it doesn't, adjust the x/y ratio using F4 and the mouse wheel.
10. Press ctrl+F1 to save.
5 Keyboard macros
It's possible to configure keyboard macros: a key press can trigger a series of keyboard events, with timing conditions.
Each macro has to be defined in a file saved into:
- Ubuntu: the ~/.emuclient/macros directory.
~ is the home directory, and .emuclient folder is hidden (in the file manager, press ctrl+h to display hidden folders). - Windows 32bits: the C:\Program Files\GIMX\macros directory.
- Windows 64bits: the C:\Program Files (x86)\GIMX\macros directory.
- KEYDOWN
- KEYUP
- DELAY (unit = ms)
- KEY (= KEYDOWN + DELAY 50 + KEYUP)
Code: Select all
#Defines the action that triggers the macro execution
MACRO F1
#Performs a keystroke (key down + delay 50ms + key up)
KEY e
#Sleep 50ms
DELAY 50
#Perform a key down
KEYDOWN SPACE
#Sleep 50ms (minimum delay between KEYDOWN and KEYUP)
DELAY 50
#Perform a key up
KEYUP SPACE
All keys of the keyboard can trigger a macro.
Use the exact same key names (=event id, case sensitive) as displayed in gimx-config or gimx-fpsconfig.
Be careful: everything is case-sensitive!
6 Troubleshooting
First make sure you have the latest GIMX version.
Then look at the FAQ and the bug list, see if your problem is already known, and if it's not, report it.
7 Contribute
If you want to contribute to this project, have a look at this thread.
Paypal donation link: mat.lau@laposte.net